12767 Steam Clean And Wheel Grind Shop
Replacing Lionel's Control Box - Option 2
(Custom Vertical Through Pin Header Strip)
Read Instructions for Option 1 Controller
(free hanging receptacles) first.
Print Drawing for
Option 2 box and header strip.
This option was used in the absence of the accessory. When the Accessory Receptacles are available, replace with Receptacle parts as described in Option 1.
Custom Vertical Pin Header Strip Construction
Use 1/16" brass rod and 3/32" brass tubing as parts in place of free hanging sockets. 1/8" thick Lexan was used for header board.
Lionel's Controller on Left Replacement on Right
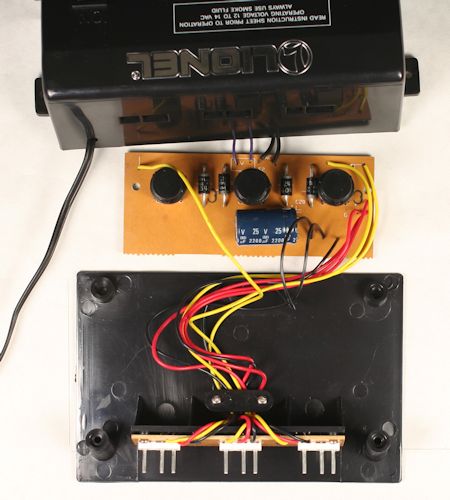 In the past, mounted 1/16" feed through pins were available. |
 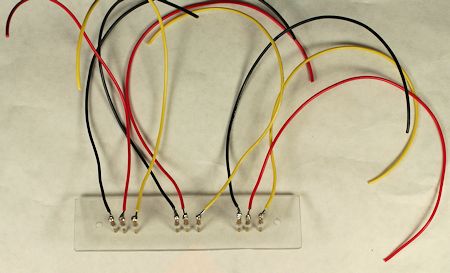 After Pins are Secured to Board, Solder Wires to Ends of Pins facing into Box. |
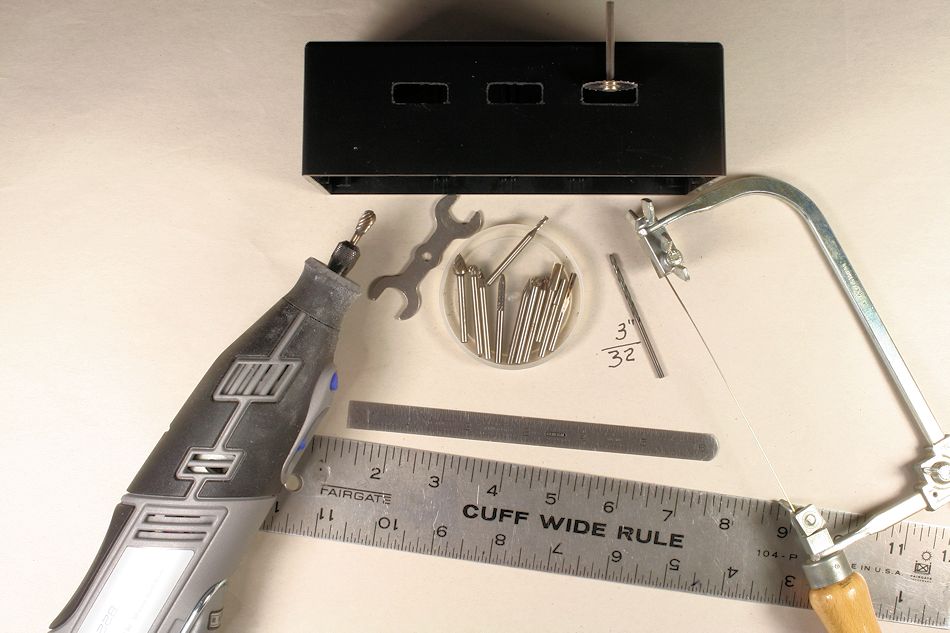
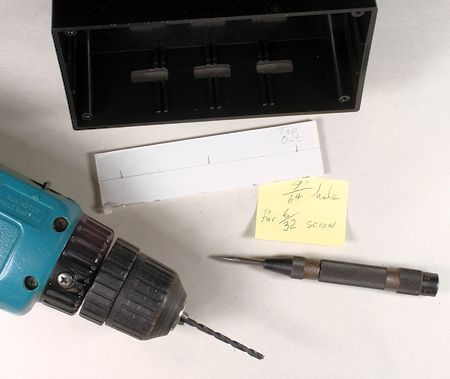
Cut Slots in Box Back. Various Tools for Cutting Slots in Box
Back (see Drawing)
The best tools are the tools you are comfortable using.
Cut Pins and Tubing
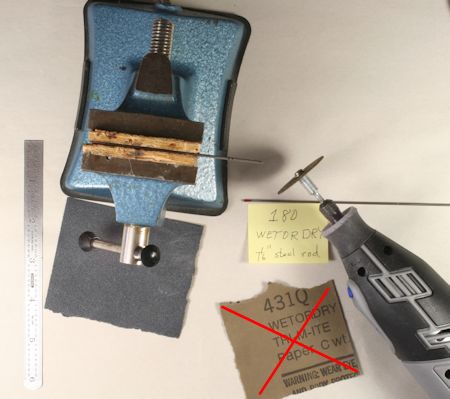 |
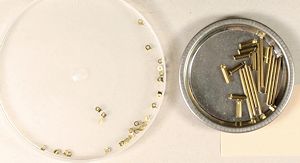 Stop Rings on Left, Pins & Sleeves on Right Cut extra 1/16" long Stop Rings with Moto-Tool. (Cut rings as short as possible and no need to measure.) |
Smooth Brass Pin Parts
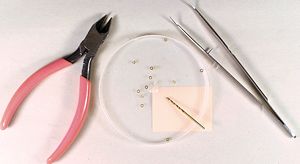 Sort Rings for Nearest the Same Length. |
 |
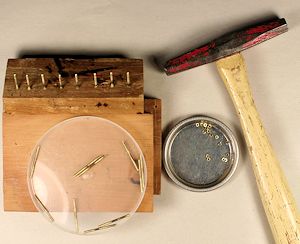 Solder Jig is Oak Block with 1/16" x 5/16" deep holes. Insert pins 5/16" deep and slip Stop Rings all the way down. Solder. |
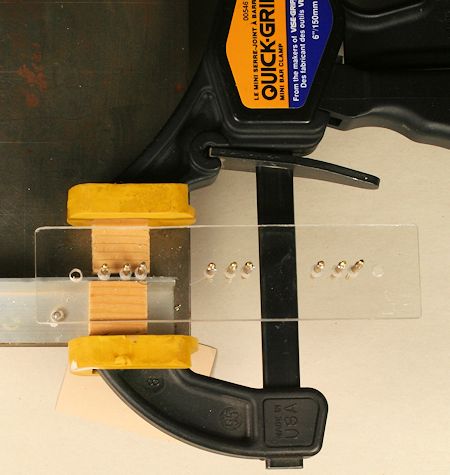
Cut Header Pin Board 1/8" x 3/4" x approx. 4 1/2" long.
 Cut Lexan with table saw. Drill 9/64" holes for 6/32 rhms. |
 Secure board to box back and mark slot locations. Remove board, mark pin locations in relation to the slots. Drill pin holes with #52 or #51 bits for easy insertion of pins. Do NOT countersink holes on header plate. |
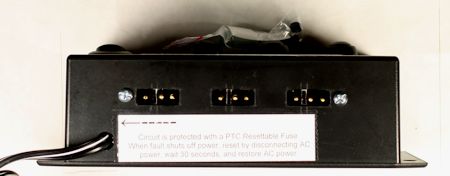
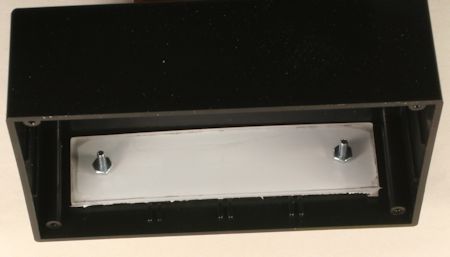
Insert Through Pins in Header Board Polarity Dividers in Box
 The Out Pins with Soldered Stop Rings are Clamped against Steel angle that will act as a Heat Sink. Slip Sleeve over inside of pin and solder to secure. |
 Lionel's above Replacement Headers |
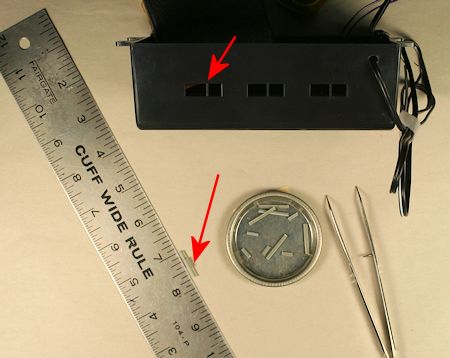 Cut 1/16" x 1/16" soft gray plastic strip with utility knife. 3 lengths of 3/8" and 3 lengths of slot height. Bottom red arrow shows glued together parts for Dividers. |
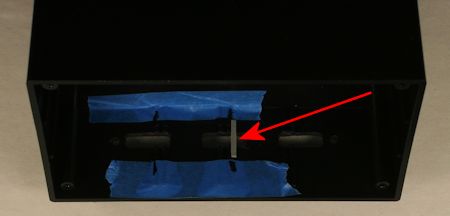 Glue 3 Dividers into the 3 slots. (The 3/8" strip to inside of box) Blue tape is used to mark Divider positions. After glue dries, trim plastic with X-Acto knife if needed. |
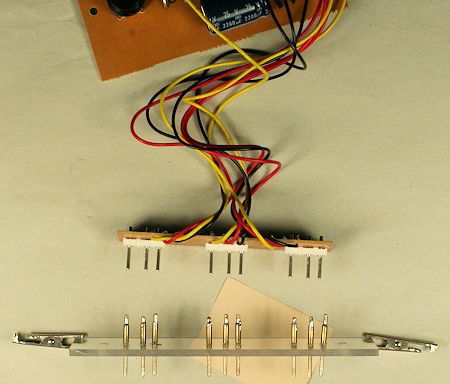
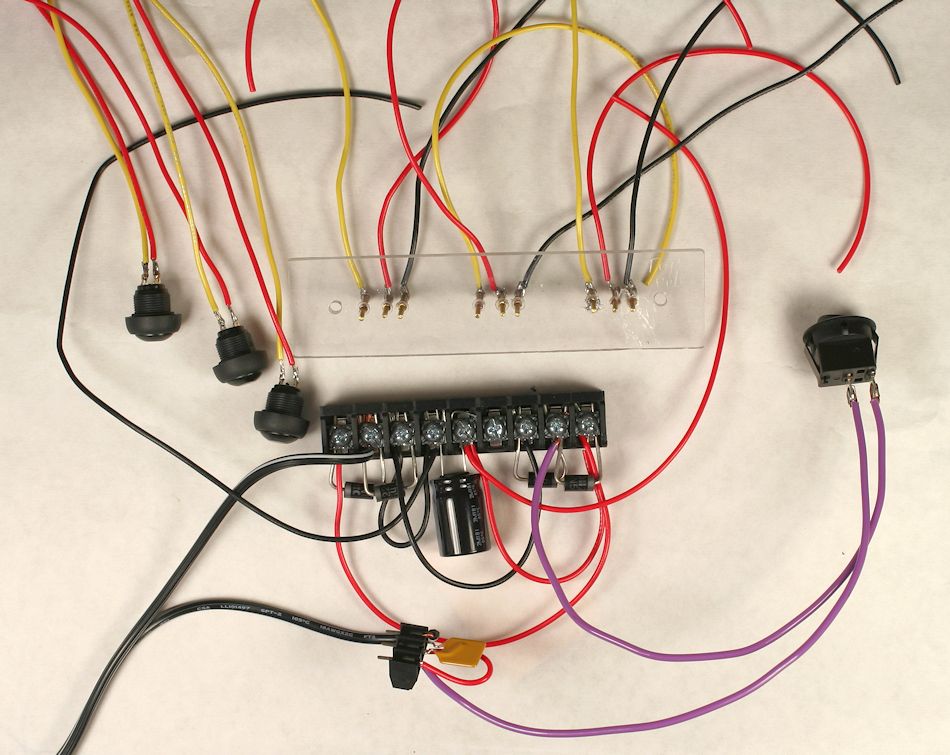
Made up Wiring Ready for Connections
(from Color Coded Diagram)
Option 2 Custom Vertical Through Pin Header Strip Shown in Place of
Option 1 Pin &
Socket Connectors
Attach Header to Box using 6/32 rhms, 6/32 nuts, 7/16" Spacers. Finish as shown with Option 1.
Return to Operating Cars and Accessories